

Back to Index
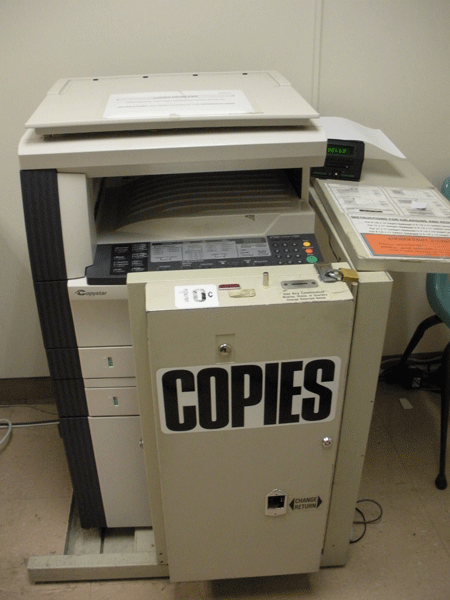
| 1.) Position materials to be photocopied in the top left corner of the copy pane. Orient the document you are photocopying so that it conforms to this anchor. |
| 2.) Ensure the "LTR" tag on the horizontal axis and "LTR" tag on the vertical axis of the pane are lined up. Use these as imaginary axis; if a document spills over these imaginary axis, chances are that part of the document will be left out of your photocopy. |
| 3.) Ensure there is a correspondence of paper sizes on the menu. If the output button says "Legal,"but the tray button says "Letter," the document will not photocopy. You are instructing the machine with conflicting instructions, so it will not output the work you command. |
| 4.) If the printer or one of the copiers is out of paper and there is no paper in the cabinet of the Reference desk, swap paper between the machines. |
| 1.) Open the side paper tray on the left side of the printer about halfway down the machine. |
| 2.) Place one piece of the paper in the side paper tray. |
| 3.) It should begin printing and you can check the printed page to see if you need to put the rest of the paper in the side intake horizontally or vertically.. |
| 4.) When the job has finished, close the side intake and replace the paper in the printer’s drawer. |
| 1.) Color copies cannot be made using a VendaCard – the machine only takes cash. |
| 2.) Color printing, like all printing, can only be done using a VendaCard – no cash. |
| 3.) If a VendaCard machine takes a dollar and does not give the user a card try unplugging and re-plugging it. Usually this will cause the machine to eject the card upon restarting, and it should have the 70 cents on it. |
 |
Print Mode Errors can be cleared either by adding paper to the machine or by the following method. Normally the error is caused by the print job requesting a paper size other than 8 ½ x 11, and you have to tell it to print on the right size. To do this: |
1.) Press the
2.)It should tell you which size paper is trying to print in the upper right of the LED display as well as the sizes of paper you can select; If 8 ½ x 11 is not the selected size use the arrow keys to scroll and select it. 3.) Hit the
|
1.) Take some paper from one of the drawers; Open the side paper tray on the left side of the printer about halfway down the machine. 2.) Place one piece of the paper in the side paper tray. It should begin printing and you can check the printed page to see if you need to put the rest of the paper in the side intake horizontally or vertically. 3.) When the job has finished, close the side intake and replace the paper in the printer’s drawer.
|
| Benjamin S. Rosenthal Library 65-30 Kissena Boulevard Flushing, NY 11367-1597 Information & Services: (718) 997-3700 Office of the Chief Librarian: (718) 997-3760 |